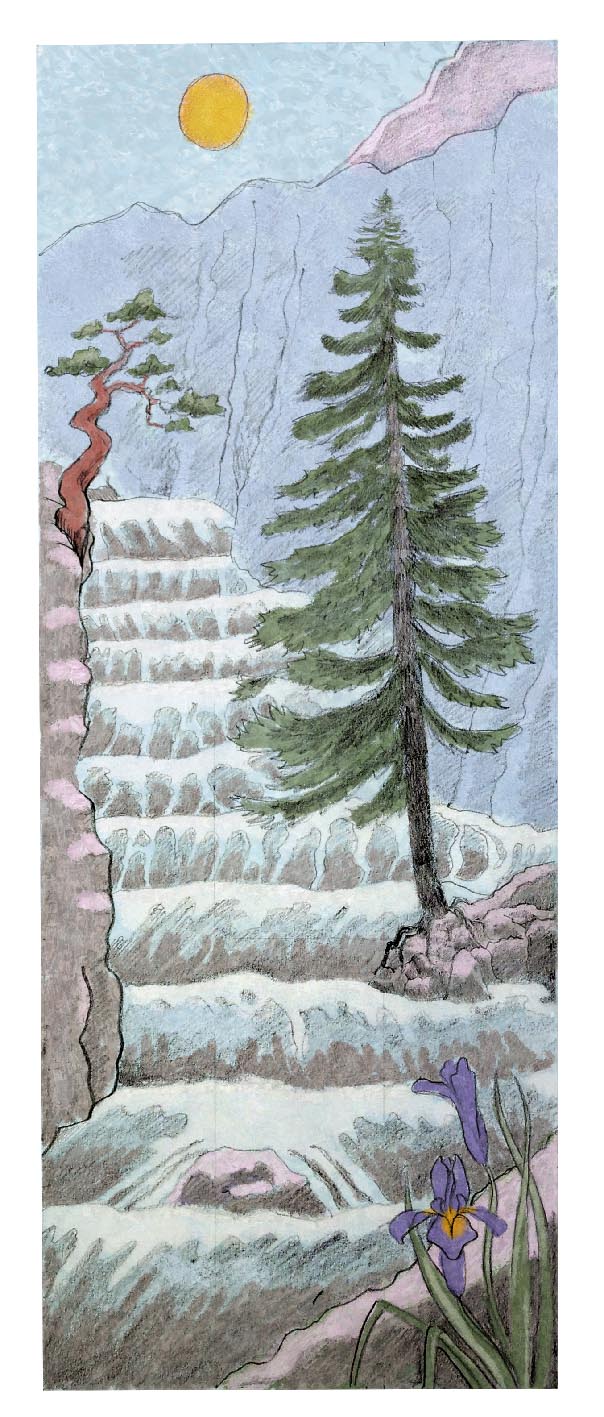
I created these fabric wall hangings for a client in West Wales. They’d just had an extension to their house and wanted large and striking artworks that would also soften the reflective sound – the echoes – from all the new plaster and glass in the room.
Fabric wall hangings – how we did it
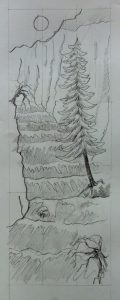
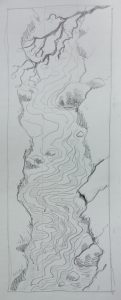
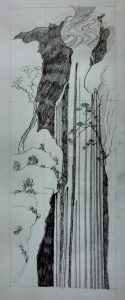
The first part of the work was like any other illustration project. We chatted about what the client liked and what they wanted. I came up with six designs sketched in pencil – three for the tall hanging and three for the sets of four. Here they are:


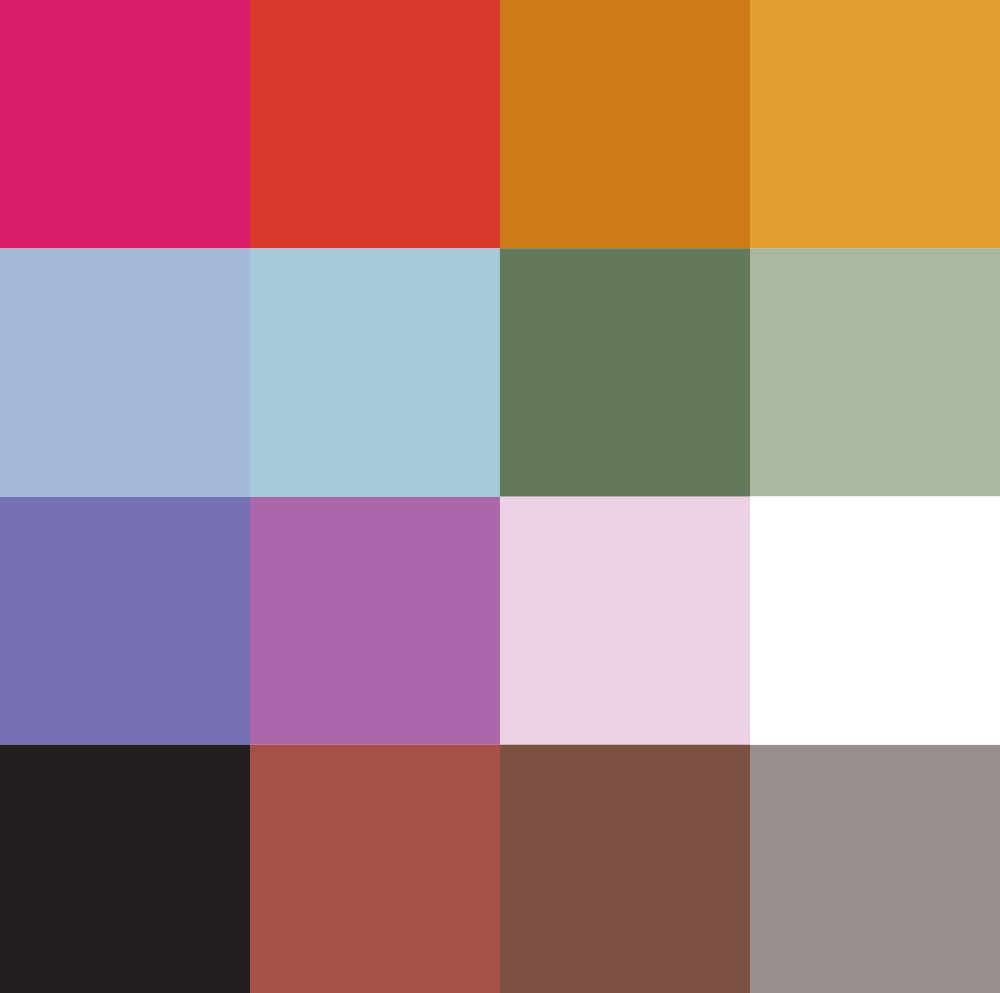
The client chose one of each and I created larger, more carefully-drawn versions which were to scale, and decided on a colour palette. Though the fabric wall hangings are different colours they are all based on the same colours.
Here they are coloured up:

And here is the colour palette:
Fabrics for wall hangings
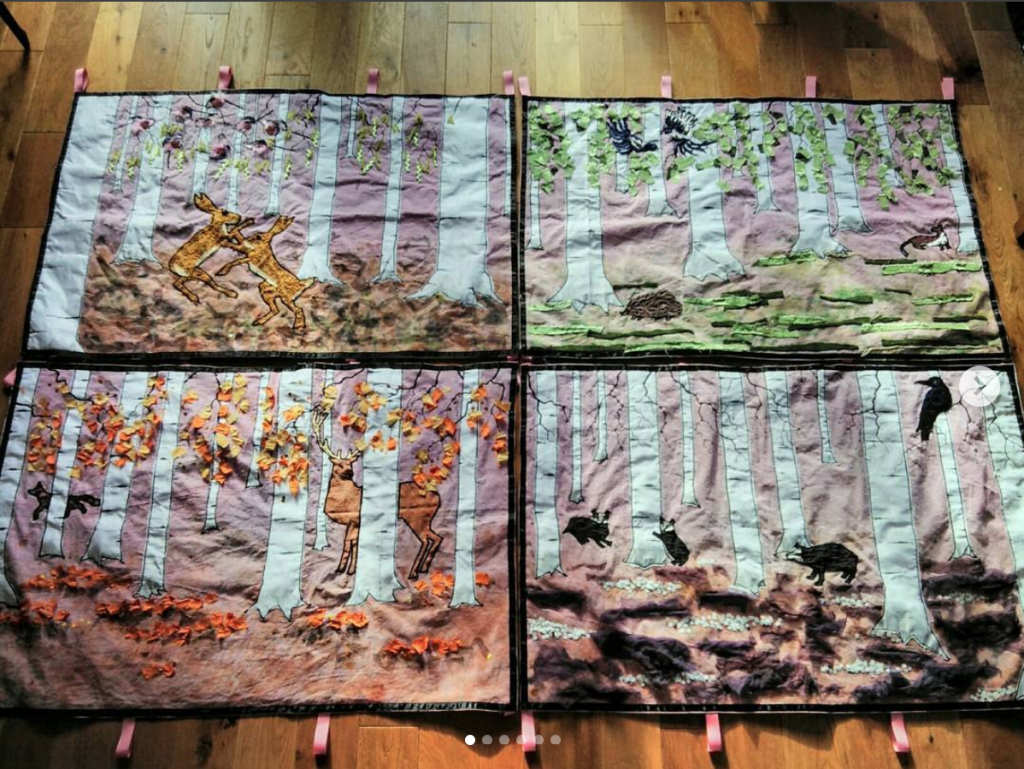
Once I had the designs and colours approved I stuck together enough paper to create full-size versions of the designs. The tall one is 2.1m high by .8m wide and the four are .8 high by 1.2m wide each. I chose a sturdy cotton twill for the background and dyed it using two different colour dyes for the four. I salted these while wet to give a slight mottled effect and then dripped acrylic paint onto the bottom third of these to create a forest floor.
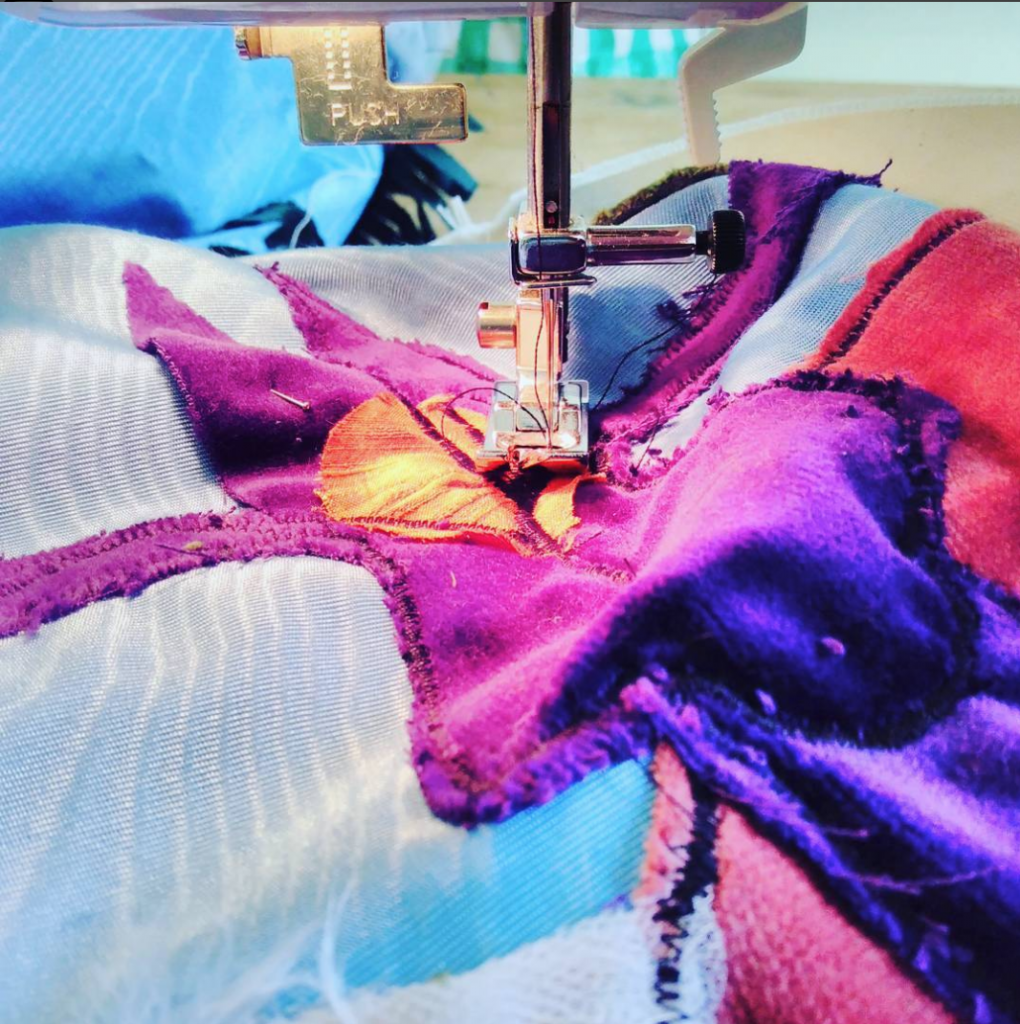
As for the other fabrics, many I got from a friend who has an amazing collection, and some I bought from a local shop. I wanted to create interest with texture and pattern, because accurate detail is difficult with a sewing machine! I cut out the shapes using my full-sized paper guides, and with the animals I actually drew them carefully and cut them out to make templates. I pinned the fabrics to the surface, working from the background to the foreground, and satin-stitched them into place with a sewing machine. Some fiddly bits – the feathers in the water froth and the long-tailed tits, for example – had to be glued and hand-sewn.
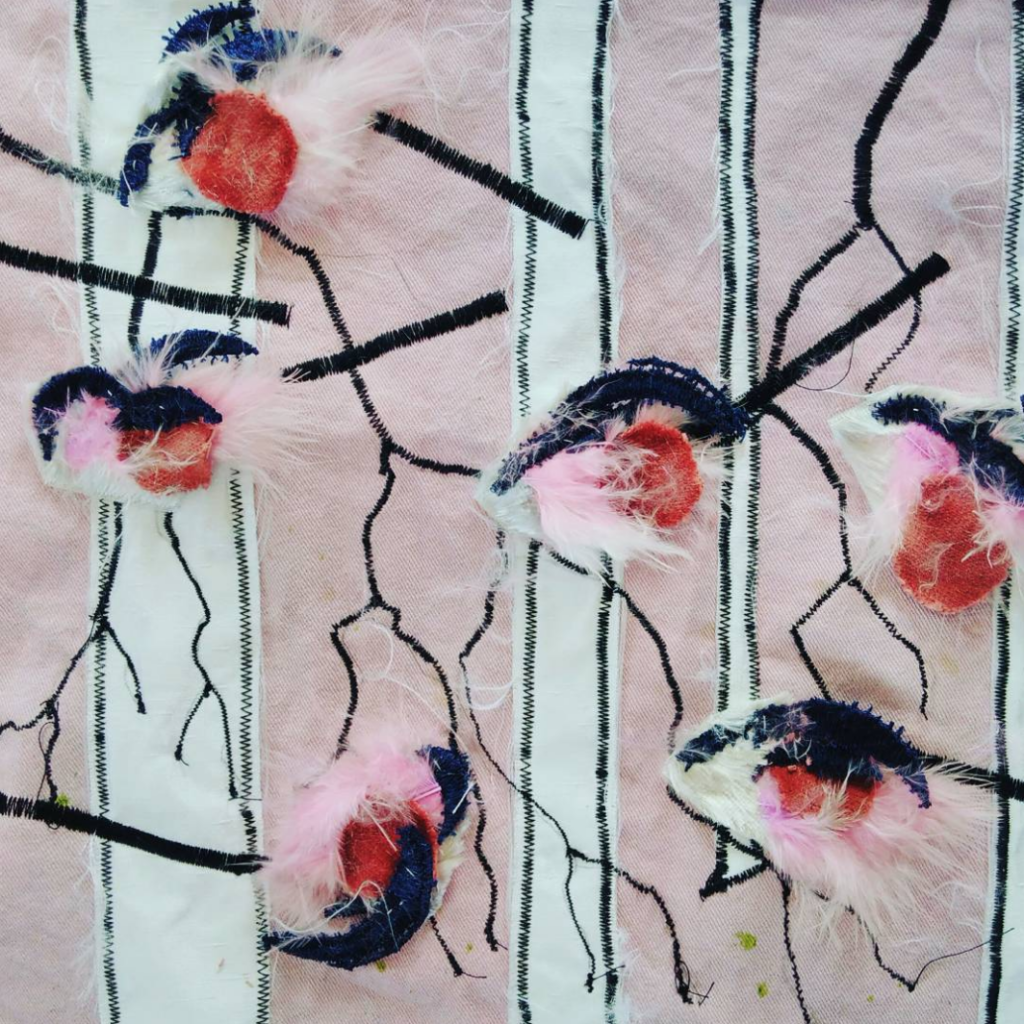
Silver birch bark was created by ironing on backing to a satin with a slub, and then with dilute acrylics darkening the bases. Sharpie ink held onto the satin so it bled works magic for the horizontal dark bands on the tree trunks. The branches are decreasing widths of satin stitch.
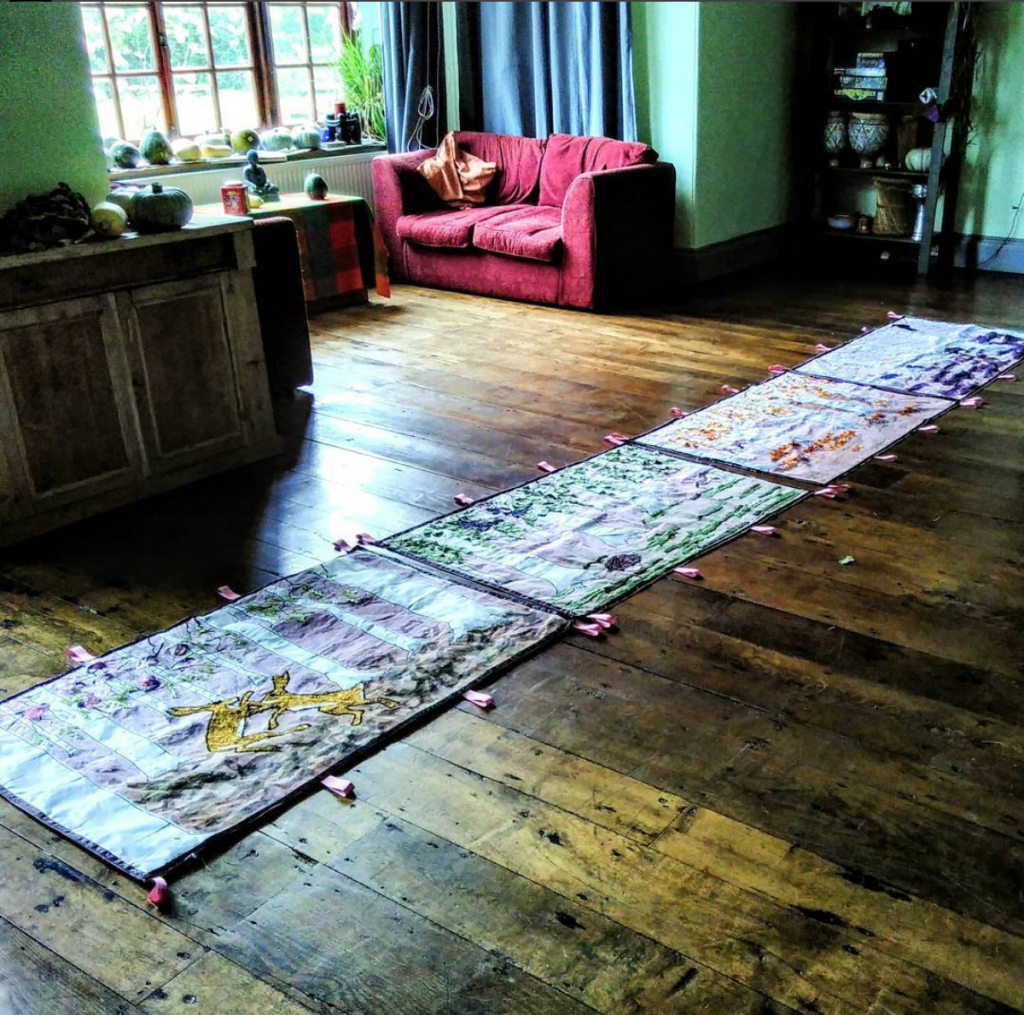
 Some parts of the sewing – alright, most parts of the sewing – were very fiddly, but it was really exciting to see it come together. Once the panels were created I sewed fabric loops top and bottom, bearing in mind the diameter of the poles to be used to hang them. I then encapsulated sheets of thick wadding slightly smaller than the panels (so they can’t be seen from the front) in curtain liner and sewed that to the backs. This is the sound insulation.
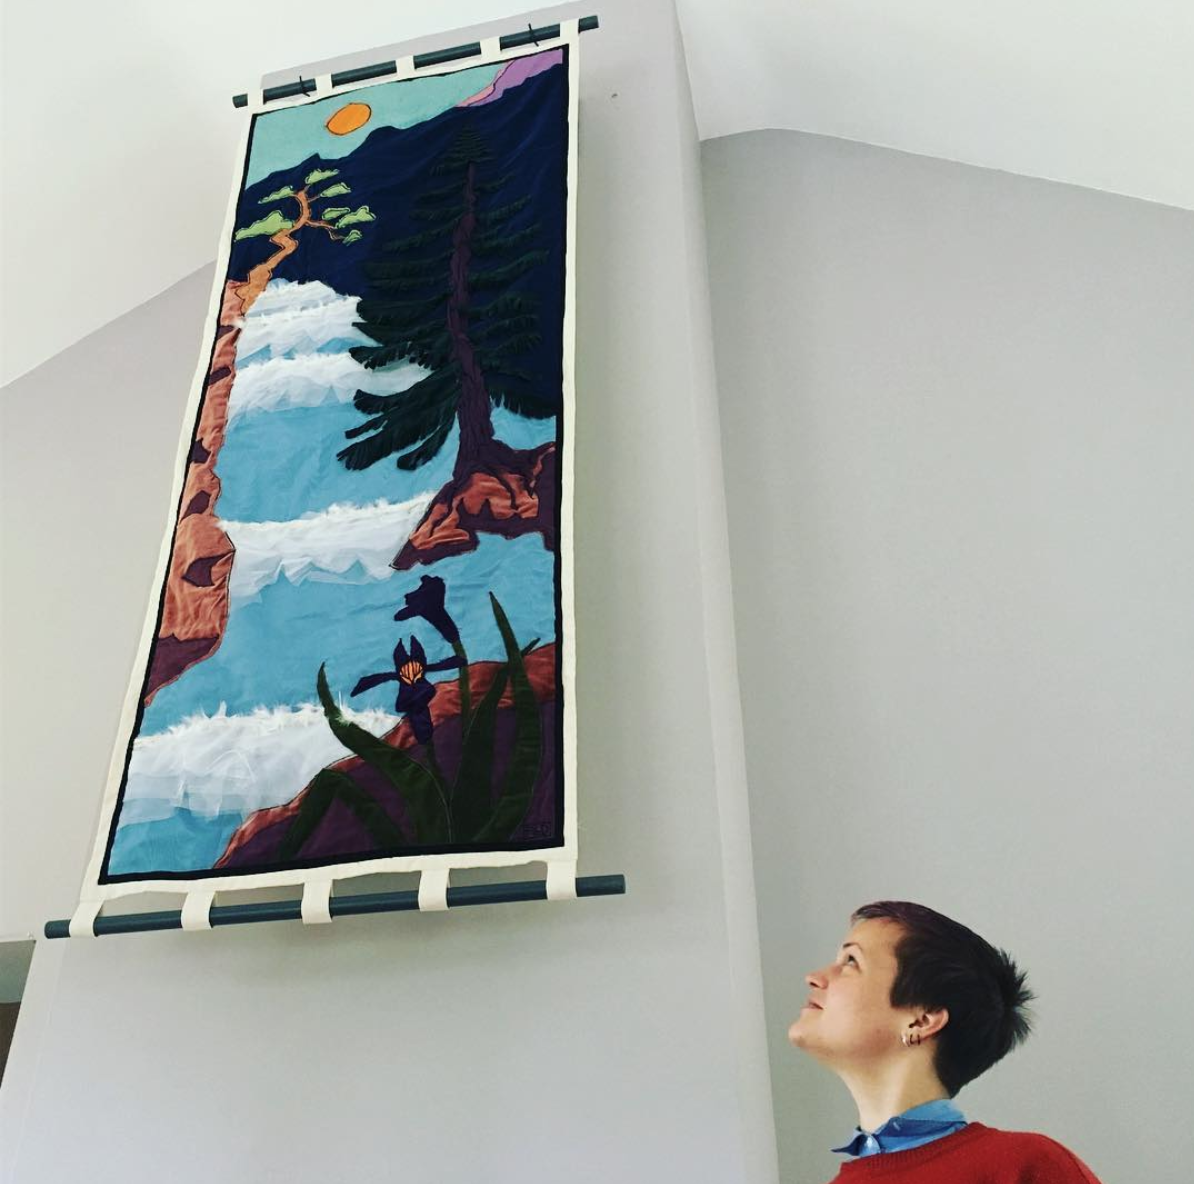
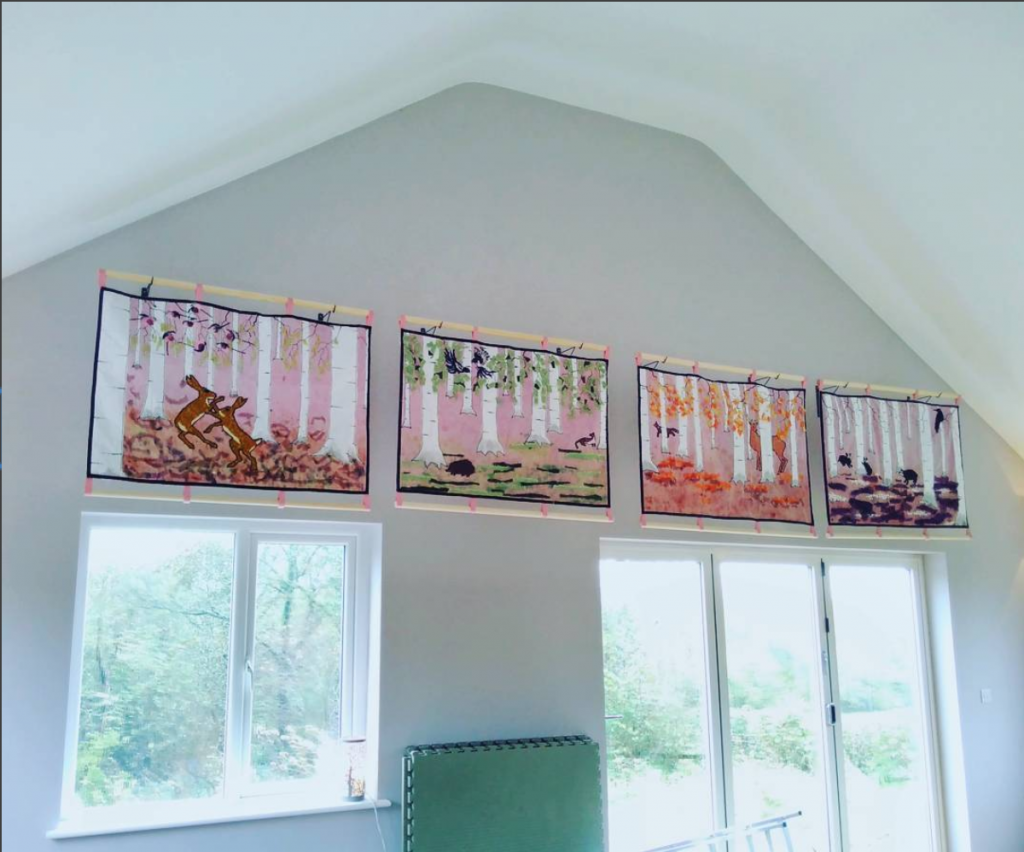
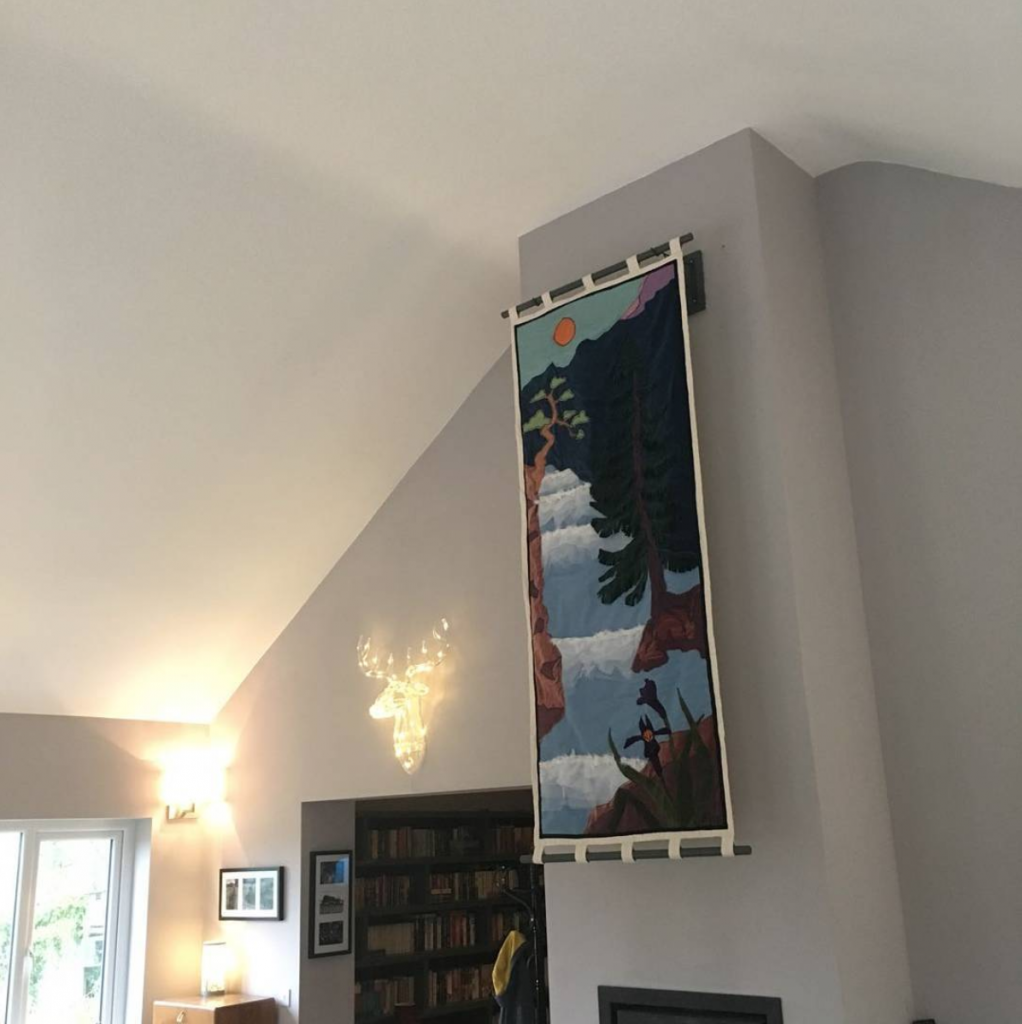
And then they were hung!
As you can see from the process involved these aren’t the cheapest or quickest creations to make but if you are looking for a large statement piece they really do grab the eye but with a wonderful softness. Commission me!
I’ve created many large works in the past – most recently these A1+ maps for National Army Museum and this huge mural for Wales Millennium Centre.
Frank, these are absolutely beautiful works of art. one day when I’m rich and famous I will commission some of these for my home. you are super talented.
<3 thank you so much - I look forward to that! :D